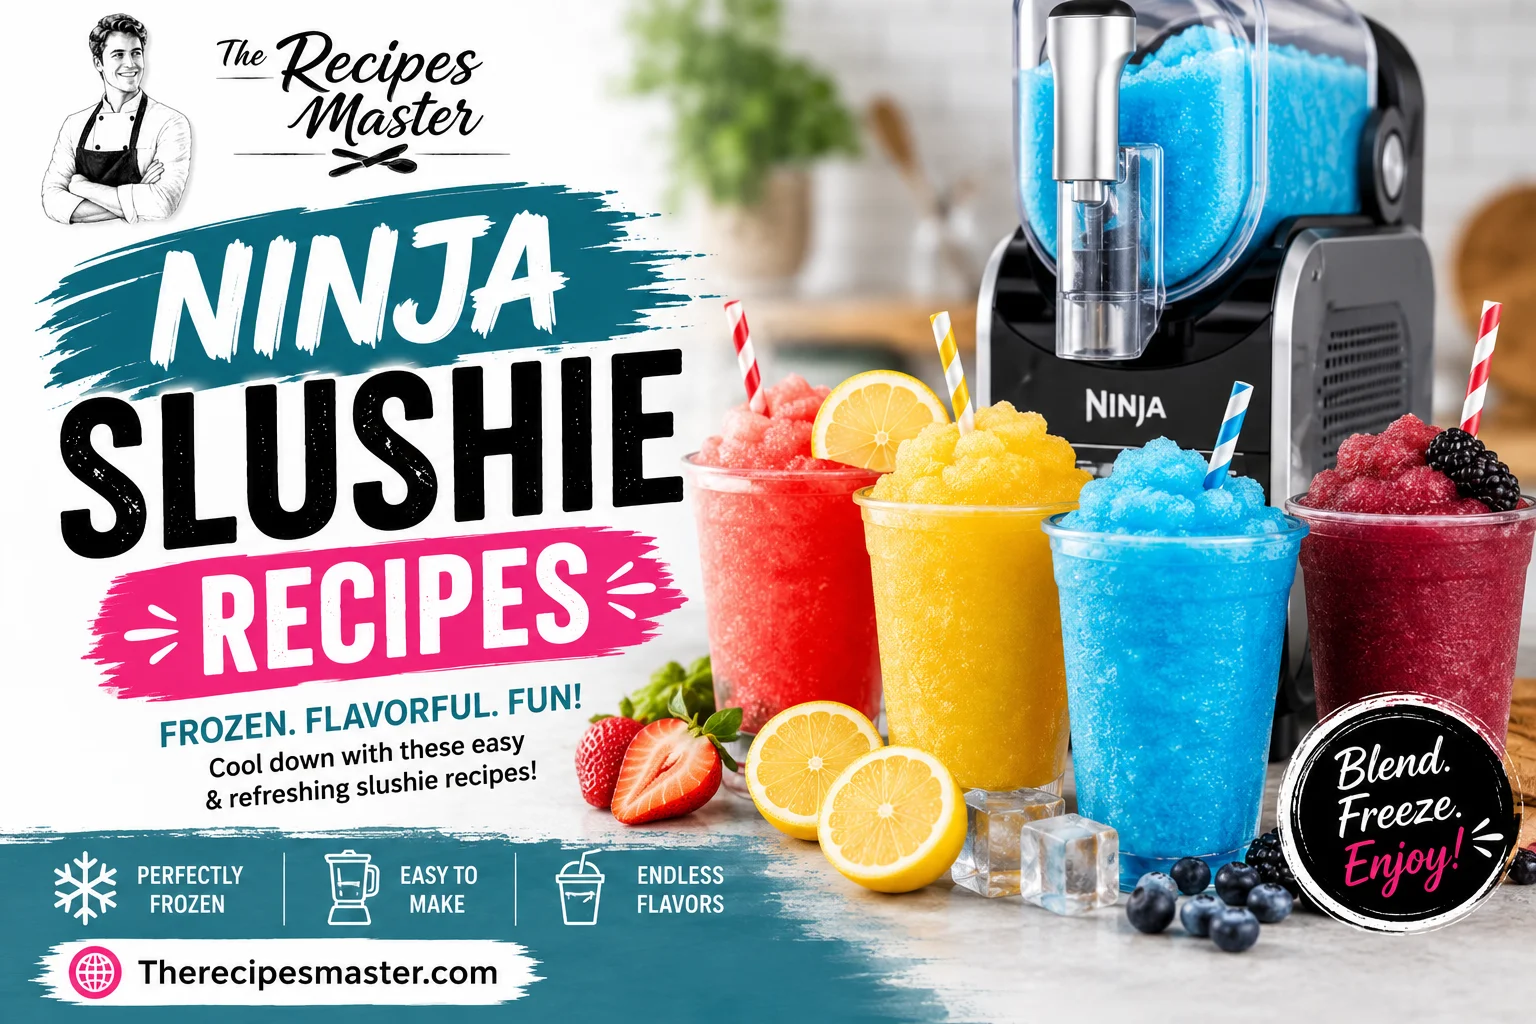
Ninja Slushie Recipes
|

Ninja Slushi Recipes: The Ultimate Guide to Every Flavor, Setting, and Ratio

You just got your Ninja Slushi machine. You are excited. You pour in your first mix, press a button, and wait. Then it comes out watery. Or it never freezes at all. Or it freezes so hard it will not pour. You are not alone. This happens to almost every new owner in the first week. The good news is that it is not your machine. It is your ratio.

This guide fixes that problem for good. You will get real Ninja Slushi recipes that work every time, plus the settings, ratios, and fixes that most recipe sites never explain. By the time you finish reading, you will know exactly why a recipe freezes or fails, and you will never waste a batch again.

We tested these recipes over several weeks, in different bar levels, with different sugar amounts, so you do not have to guess. Everything below is written the way we would explain it to a friend standing next to us in the kitchen.
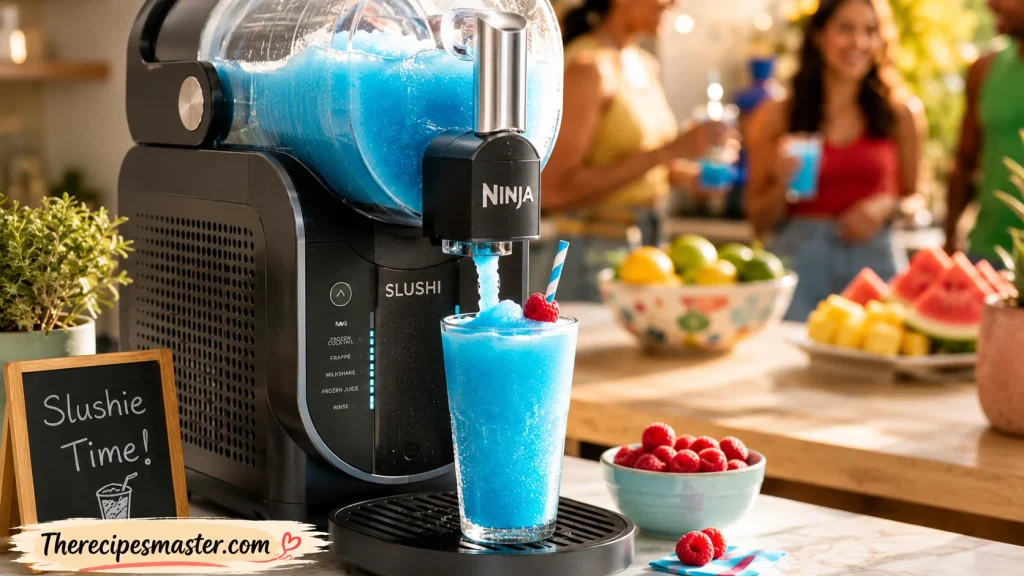
Ninja Slushi Recipes

What Is the Ninja Slushi Machine? (Quick Primer for New Owners)

Quick answer: The Ninja Slushi is a countertop machine that freezes and churns liquid at the same time. This creates a smooth, icy slush texture instead of the watery, chunky texture you get from blending ice cubes.

A regular blender crushes ice. That is why blended slushies melt fast and taste watered down. The Ninja Slushi machine works differently. It cools the liquid inside a metal chamber while a slow-turning auger stirs it. As the mix chills, tiny ice crystals form all through the liquid instead of just on the surface. That is what gives you that smooth, self-serve texture, like the machine at a gas station or movie theater, but made with your own ingredients at home.

The Main Parts of the Machine

  • Chamber (vessel): Where you pour your liquid mix. This is what freezes.
  • Auger: The internal blade that slowly stirs the mix as it freezes. This stops ice from clumping.
  • Self-serve spout and handle: Pull the handle down to dispense your finished drink into a cup.
  • Control panel: Where you choose your setting and bar level (more on this next).

Which Ninja Slushi Model Do You Have?

Ninja sells a few different sizes and versions of this machine, including a larger “Max” model with a bigger chamber and a SlushAssist feature that adjusts freeze time on its own. All the Ninja Slushi recipes in this guide work on any model. Just watch your fill line, since smaller chambers need smaller batches.
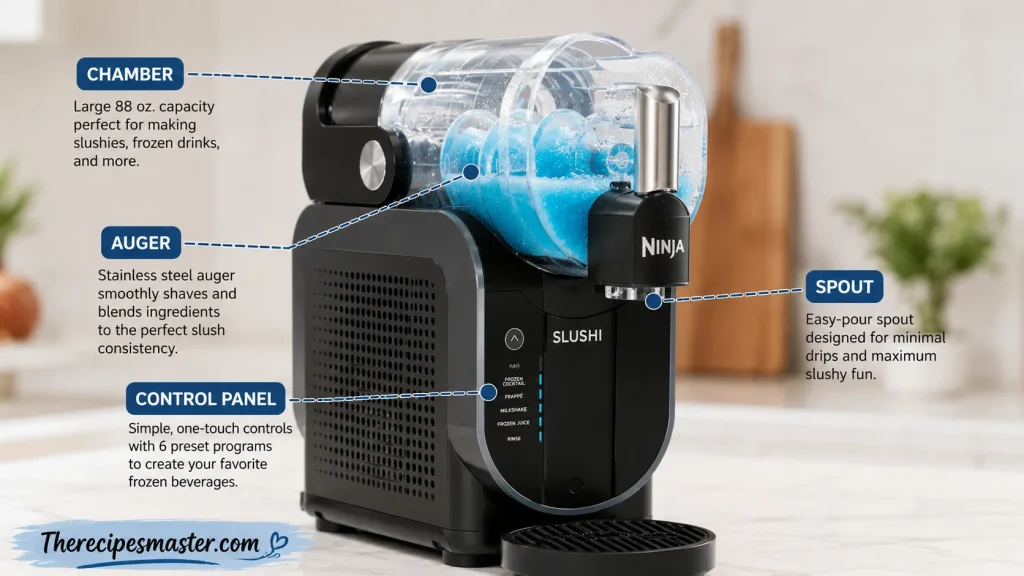
Main Parts of the Machine

Ninja Slushi Settings Explained (Slush vs. Milkshake vs. Spiked Slush vs. Manual)

This is the part almost every recipe blog skips, and it is the reason so many first batches fail. Picking the wrong setting is one of the top reasons people search for help with Ninja Slushi recipes in the first place, and it is also the fastest fix once you understand it.

Quick answer: The Ninja Slushi has four main modes. Slush mode is for icy, fruit-based drinks. Milkshake mode is for creamy, dairy-based drinks. Spiked Slush mode is built for alcohol so it can freeze even with added liquor. Manual mode lets you control the exact freeze level yourself, from 1 to 5 bars.

SettingBest ForTypical Freeze TimeWhat It Does Differently
SlushJuice, soda, fruit mixes45–60 minutesFreezes thinner liquids into a light, icy texture
MilkshakeMilk, cream, ice cream bases25–55 minutesAdjusts freeze speed for thicker, fat-heavy liquids
Spiked SlushCocktails with alcohol50–70 minutesAccounts for alcohol lowering the freezing point
Manual (Bars 1–5)Any custom recipeVaries by bar levelYou set the exact firmness yourself, from soft-serve to hard-frozen

How to Pick the Right Setting

  • If your recipe is mostly juice, soda, or water, start with Slush.
  • If your recipe has milk, cream, or ice cream, use Milkshake.
  • If your recipe has beer, wine, or liquor in it, always use Spiked Slush. Alcohol lowers the freezing point, so a regular setting may never fully freeze it.
  • If a recipe already worked for you once but you want it a little softer or firmer next time, switch to Manual and adjust the bar level up or down by one.

A simple rule that solves most confusion: match the setting to your main ingredient, not the flavor name. A “coffee milkshake” uses Milkshake mode even though it is not sweet like a dessert. A “wine slush” uses Spiked Slush mode even though it looks like a fruit drink.

Ninja Slushi Ratio Chart: Sugar, Liquid, and Alcohol Guide

This is the section that separates a recipe that works from one that does not. If you only remember one part of this whole guide, remember this one.

Quick answer: For a batch to freeze properly, your mix generally needs enough sugar content to control ice crystal size, and low enough alcohol content that the liquid can still reach a frozen slush texture. Too little sugar makes ice chunky. Too much alcohol stops freezing completely.

Why Sugar Matters for Freezing

Sugar does more than add sweetness. It changes how water molecules form ice crystals. A liquid with too little sugar freezes into large, hard, gritty crystals. A liquid with the right amount of sugar freezes into small, smooth crystals, which is what gives a slush its soft texture. This is basic freezing point science, and it is the same reason ice cream needs sugar to stay scoopable instead of turning into a rock.

If you use a diet or sugar-free mixer, the machine may still work, but the texture often turns out icier and harder, since sugar-free sweeteners do not always behave the same way as real sugar at a molecular level.

Why Alcohol Matters for Freezing

Alcohol lowers the freezing point of liquid. This is why a bottle of vodka in your freezer never turns solid. If you add too much alcohol to your Ninja Slushi mix, the machine may run its full cycle and still hand you a liquid instead of a slush.

General Ratio Guide

Drink TypeGeneral Ratio GuideSetting
Fruit slush (juice-based)Mostly juice, small amount of added sugar if the juice is not sweet enoughSlush
Milkshake-styleMilk or cream as the base liquid, ice cream or flavored syrup added for thicknessMilkshake
Spiked slush (cocktail)Keep total alcohol content on the lower side of the recipe, and fill the rest with juice, soda, or mixerSpiked Slush
Sugar-free slushUse a sugar-free mixer plus a small amount of real sugar or honey if the batch will not freeze smoothlySlush

This chart is a starting guide, not a strict rule. Every recipe below already has this math built in, so you do not have to calculate anything yourself. Just follow the ingredient amounts as written.
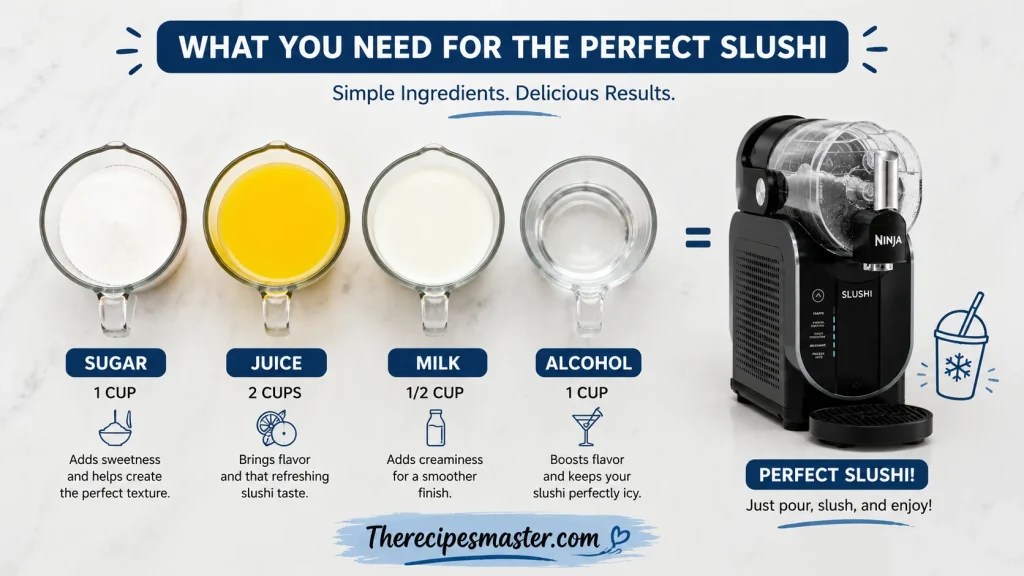
Ninja Slushi Ratio Chart

Why Isn’t My Ninja Slushi Freezing? (Troubleshooting Guide)

If you searched for this exact question, you are in the right place. This is one of the most common problems new owners run into, and almost every time, the fix is simple.

Quick answer: The most common reasons a Ninja Slushi will not freeze are too little sugar, too much alcohol, an overfilled chamber, or ingredients that were too warm when added.

The 5 Most Common Reasons a Batch Fails

  • Not enough sugar. If your mix is very low sugar or fully sugar-free, add a small amount of sugar, honey, or simple syrup to help it freeze correctly.
  • Too much alcohol. Cut the alcohol amount and add more mixer, juice, or soda to bring the ratio back into a range the machine can freeze.
  • Overfilled chamber. Every machine has a max fill line. Filling past it stops the auger from churning properly, so the mix never freezes evenly.
  • Warm ingredients. Starting with room-temperature liquid adds more work for the machine. Chill your ingredients in the fridge first for a faster, more even freeze.
  • Not enough total liquid. A chamber that is too empty freezes unevenly too. Stick close to the recipe amount, not just under the max line.

What to Do If Your Batch Still Will Not Freeze

  • Let it run 15 to 20 minutes longer before giving up. Some mixes just need extra time.
  • Pour the mix out, add a small amount of sugar or a splash of a sweeter juice, and run it again.
  • If it is a boozy recipe, cut the alcohol slightly and try again.
  • Check that you selected the correct setting for your main ingredient (see the settings table above).

Quick Troubleshooting Checklist

  • Did I chill my ingredients first?
  • Did I pick the right setting for this recipe?
  • Is my sugar content close to the recipe amount?
  • Is my alcohol amount within the recipe’s range?
  • Did I stay under the max fill line?

Best Ninja Slushi Recipes by Category

Now for the part you came here for. These Ninja Slushi recipes are grouped by type, so you can jump straight to what you are craving. Every recipe below is written with a ratio that is already tested to freeze correctly on Slush, Milkshake, or Spiked Slush mode.
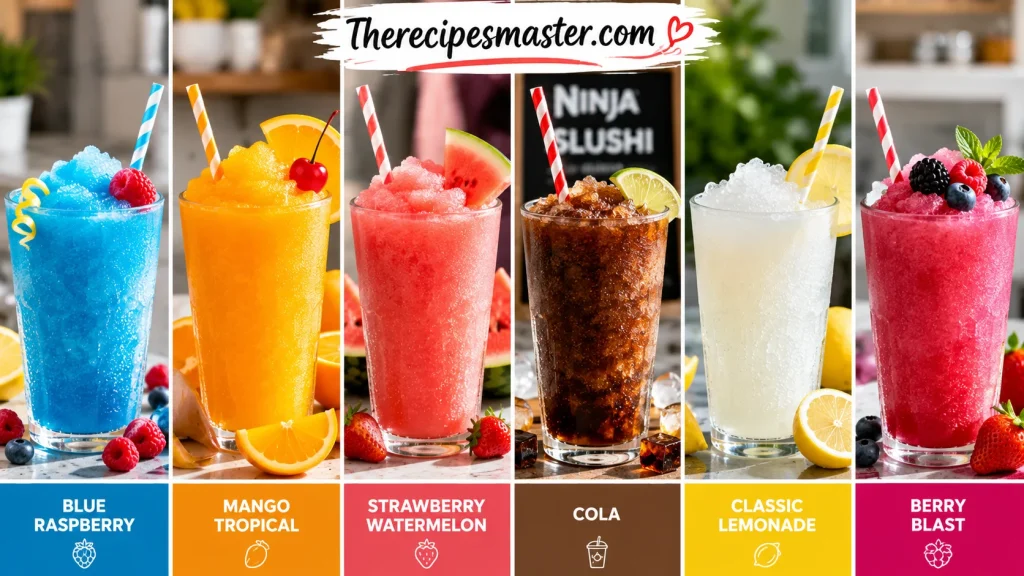
Best Ninja Slushi Recipes

Classic Fruit and Kid-Friendly Slushies

1. Blue Raspberry Slush

  • Ingredients: 4 cups blue raspberry juice or lemonade, 2 tablespoons sugar (adjust to taste)
  • Setting: Slush
  • How to make it: Pour ingredients into the chamber, stir slightly, select Slush, and let it run 45 to 55 minutes. Dispense and serve cold.

2. Watermelon Slush

  • Ingredients: 4 cups blended fresh watermelon, 2 tablespoons sugar, 1 tablespoon lime juice
  • Setting: Slush
  • How to make it: Blend watermelon until smooth, strain out large chunks if you want a smoother texture, pour into the chamber with sugar and lime juice, and run on Slush.

3. Fruit Punch Slush

  • Ingredients: 4 cups fruit punch, 1 tablespoon lemon juice
  • Setting: Slush
  • How to make it: Combine and pour into the machine, then run on Slush until fully frozen.

4. Strawberry Lemonade Slush

  • Ingredients: 2 cups lemonade, 2 cups blended fresh strawberries, 2 tablespoons sugar if needed
  • Setting: Slush
  • How to make it: Blend strawberries smooth, mix with lemonade and sugar, pour into the chamber, and run on Slush.

Milkshake-Style Slushi Recipes

5. Easy Chocolate Milkshake Slushi

  • Ingredients: 3 cups whole milk, 1 cup chocolate syrup, 1 teaspoon vanilla extract
  • Setting: Milkshake
  • How to make it: Whisk everything together until smooth, pour into the chamber, and run on Milkshake until thick and creamy.

6. Coffee Frappé Slushi

  • Ingredients: 2 cups cold brew coffee, 1 ½ cups milk, ½ cup sweetened condensed milk
  • Setting: Milkshake
  • How to make it: Mix everything well, pour into the machine, and select Milkshake. For an extra creamy result, use the Frappé preset if your model has one.

7. Creamsicle Milkshake Slushi

  • Ingredients: 3 cups orange juice, 1 ½ cups milk, ½ cup vanilla ice cream, 2 tablespoons sugar
  • Setting: Milkshake
  • How to make it: Blend all ingredients until smooth, pour into the chamber, and run on Milkshake.

8. Peanut Butter Cup Blizzard

  • Ingredients: 3 cups milk, ½ cup peanut butter, ¼ cup chocolate syrup, chopped peanut butter cups for mix-in
  • Setting: Milkshake
  • How to make it: Blend milk, peanut butter, and chocolate syrup smooth, pour into the chamber, run on Milkshake, then stir in chopped candy right before serving.

Copycat and Nostalgia Slushi Recipes

9. Ninja Slushi Orange Julius

  • Ingredients: 3 to 4 cups orange juice, 1 ½ cups milk (whole milk works best for a creamy texture), 2 tablespoons sugar, ½ teaspoon vanilla extract
  • Setting: Milkshake
  • How to make it: Whisk milk, sugar, and vanilla together until the sugar dissolves, pour into the chamber with the orange juice, select Milkshake, and run until thick. This one gets its own full recipe card below.

10. Frosted Lemonade Copycat

  • Ingredients: 3 cups lemonade, 1 cup vanilla ice cream, ½ cup sweetened condensed milk
  • Setting: Milkshake
  • How to make it: Blend everything smooth, pour into the chamber, and run on Milkshake for a thick, creamy, tart-sweet result.

11. Harry Potter Butterbeer Slushi

  • Ingredients: 3 cups cream soda, 1 cup milk, ½ cup butterscotch syrup, ¼ cup heavy cream
  • Setting: Milkshake
  • How to make it: Mix cream soda, milk, and butterscotch syrup, pour into the chamber, run on Milkshake, and top with a swirl of whipped cream and extra butterscotch drizzle.

12. Frozen Dole Whip

  • Ingredients: 3 cups pineapple juice, 1 cup coconut milk, 2 tablespoons sugar
  • Setting: Milkshake
  • How to make it: Whisk sugar into the pineapple juice until dissolved, add coconut milk, pour into the chamber, and run on Milkshake for a soft-serve style texture.

13. Apple Cider Slush

  • Ingredients: 4 cups apple cider, ½ teaspoon cinnamon, pinch of nutmeg
  • Setting: Slush
  • How to make it: Combine everything and pour into the chamber, then run on Slush for a fall-flavored icy treat.

Boozy and Spiked Slushi Recipes

14. Frozen Margarita Slushi

  • Ingredients: 2 cups margarita mix, 1 cup tequila, ½ cup triple sec, 1 cup water
  • Setting: Spiked Slush
  • How to make it: Combine all ingredients, pour into the chamber, and run on Spiked Slush. Serve in a salt-rimmed glass.

15. Piña Colada Slushi

  • Ingredients: 2 cups pineapple juice, 1 cup coconut cream, 1 cup white rum, ½ cup water
  • Setting: Spiked Slush
  • How to make it: Blend everything smooth, pour into the chamber, and run on Spiked Slush until frozen.

16. Strawberry Daiquiri Slushi

  • Ingredients: 2 cups blended strawberries, 1 cup white rum, ½ cup simple syrup, ½ cup water
  • Setting: Spiked Slush
  • How to make it: Blend, pour into the chamber, and run on Spiked Slush.

17. Espresso Martini Slushi

  • Ingredients: 2 cups cold brew coffee, 1 cup vodka, ½ cup coffee liqueur, ¼ cup simple syrup
  • Setting: Spiked Slush
  • How to make it: Combine and pour into the chamber, then run on Spiked Slush until it reaches a smooth, icy texture.

18. Frosé

  • Ingredients: 3 cups rosé wine, 1 cup blended strawberries, ¼ cup simple syrup
  • Setting: Spiked Slush
  • How to make it: Combine everything, pour into the chamber, and run on Spiked Slush.

Sugar-Free and Dairy-Free Slushi Recipes

19. Sugar-Free Diet Soda Slush

  • Ingredients: 4 cups diet soda of your choice, 1 tablespoon lemon juice
  • Setting: Slush
  • How to make it: Pour into the chamber and run on Slush. Note that sugar-free mixes can freeze slightly icier than sugared ones, which is normal.

20. Dairy-Free Coconut Milkshake Slushi

  • Ingredients: 3 cups coconut milk, ½ cup maple syrup, 1 teaspoon vanilla extract
  • Setting: Milkshake
  • How to make it: Whisk everything together, pour into the chamber, and run on Milkshake for a creamy, dairy-free result.

Ninja Slushi vs. Blender Slushies: Which Should You Use?

Quick answer: A Ninja Slushi machine gives a smoother, more even texture and holds the drink at serving temperature until you are ready. A blender is faster for a single glass but melts quickly and often turns out more watery.

FactorNinja Slushi MachineBlender
TextureSmooth, self-serve, evenIcy, chunky, uneven
Speed25–70 minutes per batch1–2 minutes per glass
Batch sizeLarge, party-readySingle glass at a time
Melting speedSlower, holds texture longerMelts fast, watery in minutes
Best forParties, make-ahead drinks, consistent resultsA quick single drink right now

Pros of the Ninja Slushi machine: smoother texture, hands-off process, keeps a full batch ready to serve, great for parties.

Cons of the Ninja Slushi machine: takes longer per batch, needs the right ratio to freeze correctly, counter space needed.

Pros of a blender: fast, no waiting, no ratio math needed.

Cons of a blender: watery result, melts quickly, only makes one or two servings at a time.

If you are hosting a party or want a drink ready to pour for hours, the machine wins. If you want one drink right now in under two minutes, a blender still gets the job done.

Cost Comparison: Homemade Ninja Slushi vs. Store-Bought Drinks

Buying a slush drink at a gas station or a frozen cocktail at a bar usually costs between $4 and $12 per cup. A homemade batch made with juice, soda, or basic mixers, split across 6 to 8 servings, usually works out to well under $2 per cup, even with alcohol added.

That means one machine can pay for itself after just a few parties, especially if you are making boozy Ninja Slushi recipes that would otherwise cost $10 or more per drink at a bar. Once you start comparing prices, homemade Ninja Slushi recipes end up saving real money over time.

Storage, Make-Ahead, and Cleaning Tips

Can You Make the Mix Ahead of Time?

Yes. Most Ninja Slushi recipes can be mixed and stored in the fridge for up to 2 days before you run them through the machine. Keep the mix in a sealed pitcher or jug and give it a stir before pouring it in.

How Long Does a Finished Slush Stay Good?

Once dispensed into a cup, a slush starts to melt within 15 to 30 minutes, just like any icy drink. Inside the machine itself, most slushes hold their texture for several hours on the keep-cold setting if your model has one.

How to Clean the Machine

  • Run a cycle of warm water through the chamber right after use, before sugar or dairy has a chance to dry and stick.
  • Remove the auger and rinse it separately.
  • For sticky sugar or dairy residue, a mix of warm water and a small amount of dish soap works well. Avoid harsh scrubbing on the chamber’s inner coating.
  • Dry all removable parts fully before storing to avoid mildew smell.

Common Mistakes to Avoid

  • Using ingredients straight from room temperature instead of chilling them first
  • Guessing on alcohol amounts instead of following a tested ratio
  • Overfilling past the max fill line
  • Picking Slush mode for a dairy-heavy recipe, or Milkshake mode for a thin juice mix
  • Giving up on a batch too early instead of letting it run a few extra minutes
  • Skipping a rinse right after use, which makes cleanup much harder later

Expert Pro Tips for Better Slushies Every Time

  • Chill your ingredients in the fridge for at least an hour before pouring them in. Cold ingredients freeze faster and more evenly.
  • Whole milk gives a noticeably creamier texture than skim milk in any milkshake-style recipe.
  • If a fruit slush tastes too icy, a small extra spoon of sugar usually smooths it right out on the next batch.
  • For boozy recipes, start on the lower end of the alcohol amount. You can always add a splash more to your glass after it is dispensed.
  • Label your favorite ratios once you find them. Small notes on what worked save a lot of guessing next time.

Quick Recipe Card Ninja Slushi Orange Julius

Ninja Slushi Orange Julius

A creamy, citrus-vanilla frozen drink made in the Ninja Slushi machine. Tastes just like the mall classic, but colder, smoother, and made at home.

Prep Time 10 mins
Cook Time 45 mins
Total Time 55 mins
Servings 6 cups
Calories 135 kcal
Cuisine

American

Course

Drinks / Dessert

Ingredients

  • 3 to 4 cups orange juice (use less for a lighter orange flavor, more for a stronger one)
  • 1 ½ cups whole milk (any milk works, whole milk gives the creamiest texture)
  • 2 tablespoons sugar
  • ½ teaspoon vanilla extract

Instructions

  1. In a bowl or pitcher, whisk the milk, sugar, and vanilla extract together until the sugar fully dissolves.
  2. Pour the milk mixture into the Ninja Slushi chamber, then add the orange juice.
  3. Select the Milkshake setting and start the machine.
  4. Let it run for 45 minutes, or longer if it needs more time to reach a thick, frozen texture.
  5. Once finished, place a cup under the spout, pull the handle, and dispense.

Notes

Use whole milk for the creamiest result. This recipe can be made ahead of time and refrigerated for up to 2 days before running it through the machine. For a boozy version, swap in a small amount of vanilla vodka and switch to the Spiked Slush setting.

Frequently Asked Questions

The most common reasons are too little sugar, too much alcohol, an overfilled chamber, or ingredients that were too warm to start. Check the troubleshooting section above for a full fix-by-fix guide.

There is no single fixed number, since it depends on the base liquid. As a general guide, most juice-based recipes need a small amount of added sugar unless the juice itself is already sweet. If a batch will not freeze smoothly, adding a tablespoon or two of sugar usually fixes it.

Yes, but the texture often comes out a bit icier than a sugared batch. This is normal and does not mean anything is wrong with your machine.

Keep alcohol on the lower side of your total liquid amount and always use Spiked Slush mode for boozy recipes. If a batch will not freeze, cut the alcohol and add more mixer or juice.

Slush mode is built for thin, juice-based liquids. Milkshake mode is built for thicker, dairy-based liquids. Spiked Slush mode accounts for alcohol lowering the freezing point, so it is the right choice any time liquor is in the mix.

Yes, most of these recipes can be made in a blender with ice instead. The texture will be more like a traditional blended slushie, thinner and quicker to melt, rather than the smooth, self-serve texture the machine gives you.

Once poured into a cup, expect it to start melting within 15 to 30 minutes, the same as any icy drink left out at room temperature.

Yes. Mix your ingredients and store them in a sealed container in the fridge for up to 2 days before running them through the machine.

For anyone who hosts parties, enjoys frozen drinks often, or wants a smoother texture than a blender gives, yes, it is generally worth it. If you only want a slush once in a while, a blender may cover your needs just fine.

Rinse the chamber with warm water right after use, remove and rinse the auger separately, and use a little dish soap for sticky residue. Cleaning right away is much easier than letting sugar or dairy dry inside the machine.

Yes, store-bought mixes work well and often already have the right sugar balance built in. Just add water or alcohol according to the mix’s own instructions, then run it on the matching setting.

This depends on your specific model. Always check your machine’s fill line before pouring, since overfilling is one of the most common reasons a batch does not freeze evenly.

Final Verdict

After testing recipe after recipe, our honest take is that the machine is genuinely worth it for anyone who likes hosting, entertaining, or just having a cold drink on hand without running to the store. The learning curve is small. Once you understand the ratio basics in this guide, almost every recipe from here becomes simple.

The only real downside is the wait time. This is not a two-minute blender drink. But for the smooth, shop-quality texture you get in return, most people find the wait worth it, especially for a party where the drink can sit ready for hours.

Serve it alongside a classic frozen margarita recipe for a full frozen drink bar. For something bite-sized to pair with your slushies, try these jello shot recipes.
0 people liked this post
Share:

Similar Posts

Leave a Reply

Your email address will not be published. Required fields are marked *